Showing posts with label Superseded. Show all posts

Saturday, September 25, 2010

Rudman Mk3 Digital Battery Regulators

The ElectroJeep has been a little idle as a project as I've been engaged in other things - such as upgrading the Volt914 to 216V.  However, with that out of the way, I've returned to it.  If you remember, the BMS I installed originally was a PakTrakr (scroll to the bottom of this page) with Zener diode regulators.  This sort of worked - but I was very nervous about putting full amps into the batteries, and the PakTrakr has the unfortunate side effect of draining the first in its string of 6 or so batteries.  Not a good combo - several of the batteries were getting seriously out-of-balance, and the Jeep was sitting at 325V after a "full" charge.

So, I finally got around to replacing that system with a much better one, based on Rudman Mk3 regulators from Manzanita Micro:

These are designed to connect to each battery.  In addition, they are connected to each other and to the PFC-20 (soon, PFC-30) charger to tell it when the battery is getting full.  I installed the older analog model on the Volt914 - the digital model lets you adjust the cutoff voltage dynamically, so I can actually charge the batteries correctly no matter the temperature.

The first thing to do was to make plastic boxes to keep the regulators protected.  I started by cutting little corner chunks out of 1/2" polyethylene:


The idea is to weld together a box around these corners, which themselves become the mounting points for the transparent covers.  I had previously obtained a plastic welding kit, which included the welder as well as various plastic welding rods (including polyethylene):


The boxes are of various dimensions, to hold different numbers of regulators.  After calculating dimensions, I cut out the basic shapes from 1/4" polyethylene, and then cut bending tracks where the sides will fold up:


Four of the corner pieces go on each box.  Here is one box, from the inside (before folding).  Note that the corner chunks of the envelope have been removed here:


Here is the same box from the outside.  I used 3/4" self-tapping screws (although I also drilled pilot holes).  These screws are mostly to hold it together long enough to weld, although I never bother removing them:


The next step is to fold up all four sides and then screw them to the corner pieces:


The corners are then welded (and a bit of the long fold is welded as well, to add strength).  Holes are drilled for cable egress, and smaller holes are drilled for the nylon screws which hold the regulators securely in the boxes:


And here are all seven completed boxes.  One of them has some of the wiring attached:


The next step is to attach the connectors which will allow me to easily connect and disconnect the boxes for servicing.  I use WeatherPak connectors - you can see them here grouped in the order in which they will be used in each box.  In addition, you can see the 12-gauge wire I use to hook the batteries to the regulator.  100 feet of red and 100 feet of black were just plenty:


Here is all the wiring complete.  I call this the "14-armed monster".  If you look closely, you can see that the internal phone-wire style interconnects are also attached:


Next step is to construct connectors to attach to the batteries.  A note on safety: before connecting the ring terminals to the battery bolts, it is safest to insert the pins into the shells - this prevents them from rattling around and perhaps making a circuit with another battery post:


Another note on safety - all the tools used near the batteries have been wrapped in electrical tape within an inch of their life.  Note that there are still a few exposed metal places - particularly on the torque wrench - to prevent from interfering from the operation of the tool.  Nothing is 100% safe, but every millimeter that is covered in tape is a millimeter that will not close a high-amperage circuit - I've experienced that once, I never want to try it again:


So, with the process established, it is just step and repeat.  Here is the lower rear battery box all wired up.  You can see that each battery has both a red wire and a black wire.  In the connector, the red and black wires alternate - this makes it easier to verify that they are correctly paired, and less likely to make a catastrophic mistake:


Here is the upper rear battery box, complete.  Note that, before connecting the batteries to the boxes, I use an ohm-meter to verify that the connections go where I think they go - better safe than sorry:


Here are the under-seat batteries and their regulators:


And here are the front batteries and regulators:


The next step was to interconnect the regulator boxes with the 6-wire phone cord, and then verify their correct hookup by flipping DIP switch 6 on the charger and turning it on (with the amp knob turned to zero).  Here are the rear regulators - the yellow lights indicate that they are all talking on the regulator bus:


Here are the under-seat regulators glowing:


And here are the 8 front regulators in the big box glowing:


And finally the lonely little battery at the end of the string with its regulator glowing:


With the regbus wiring verified, and the boxes closed up again and everything connected to enable the full 312V circuit, it is time to charge!  For a test point, I disconnected the DC-DC converter and used its HV input lines as a convenient place to plug in a multimeter:


In the rear, I used a clamp-on DC ammeter to verify the current going in to the pack (the new PFC-30 has a built-in ammeter so this step will not be needed):


You'll note that the ammeter says "10.02" - that's not a full load.  As I mentioned before, the batteries were significantly out-of-balance.  So, a few of them got to full charge first.  The most problematic were two batteries in the front compartment.  Here you can see me blowing a fan on them to cool them down - this helps the regulator dissipate excess current more effectively.  The overheating regulators are the ones with the glowing purple lights:


There were a few regulators in the back that also got hot, so I took the covers off and applied significant airflow to them.  Note the hot air gun at the lower right - it was turned to blow cool air, not hot air:


A combination of lots of cooling air along with turning the charger down to output 3 or 4 amps finally allowed things to settle down and charge.  Here you can see the green lights of several regulators in the back glowing - this means the regulators are bypassing current but not overheating:


At this point, the pack is nearing full.  We've reach 371 volts or so, and the constant current phase is over.  Now the charger switches over to constant voltage, ramping down the amps as it counts down on a timer.  I set the timer close to the max - the batteries seem to require it.  You do not want to cut off this phase prematurely, or the batteries will not be charged.  Here is the voltmeter monitoring the constant voltage phase:


Finally, at the end, the timer completed and everything was done.  The green, yellow, and blue lights on the charger are normal, and indicate that everything finished OK:


And here is the pack the next morning.  333.5 volts is by far the highest the pack has achieved in a year, and a significant improvement over the 325 volts or so it was getting before.  This is an average of about 12.8 volts per cell, which is where it needs to be:


This process will need to be repeated a few times before the batteries stay more balanced.  To facilitate that, I will be installing fans on all the regulator boxes (so I don't have to grab all the household fans every time I want to charge).  In addition, I will soon be upgrading from the PFC-20 to the PFC-30 charger.  This will allow me to charge at up to 30A input at 240VDC - which translates to allowing me to charge at 16A at 370VDC - 16A is the recommended C/5 charge level of the AGM-1280T.

This process took several hours per night over the course of a week.  And I'm exhausted.  But it is nice to be making forward progress again.

Sunday, June 21, 2009

Zener Diode Battery Regulators

I got tired of worrying about the balance of my batteries. I had been charging them individually - I'd tried a bulk charge once but it overcharged several batteries. I think I even caught a whiff of hydrogen sulfide - if so, it means one or more of the batteries outgassed. Very bad for sealed batteries.

So, while I wait for a more advanced BMS, I decided to build some Zener Diode battery regulators. I found a very nice writeup here (PDF instructions here) and followed it fairly closely.

First, you start with the components - from the left, they are:
  • 10 Ohm 1W resistors
  • 5/16" ring terminals
  • 6.8V 5W zener diodes
  • 1/2A miniature light bulbs

I soldered the resistors to the light bulbs:


I then soldered half of the zener diodes to ring terminals, making the positive terminal (the stripe goes toward the terminal for the positive terminal):


I then soldered the light bulb / resistor assembly to the diode / terminal assembly. Three of them have a wire in between due to physical layout issues with the rear battery rack:


I soldered the other half of the zener diodes to the negative terminals - the silver band goes *away* from the negative terminal:


And then I soldered a 16 AWG wire in between the positive and negative terminals, heat-shrink wrapping the ends for added strength:


And here are all 26 zener diode battery regulators. 9 of them got an epoxy / potting treatment (they are the ones that live in the front compartment, they need to be a little more water tight than the rest):


Here you see the regulators on the front rack:


And here they are on the rear rack. Note the three regulators on the batteries closest to you - these are the ones which I put extended length wires on so you could actually see them (otherwise, they would be hidden by the lip of the rear compartment):


With all the regulators in place, time to test them. I connected the CamLok pack disconnects, hooked up the charger, plugged it in, turned it on, and... light! I had previously charged the lower rear rack batteries, so the lights came on immediately:


The idea behind the light is that when the lights are on you should reduce the charging current. This was with a 5A charge current - pretty low - but until I get a more automatic system, what this means is that I will have to go watch the lights and turn the amps down on the charger manually when they start to come on.

The one thing I note is that having the regulators makes monitoring the individual battery charges with the PakTrakr kind of wacky. Sometimes the batteries would register very low (i.e. 8.6 volts). This effect goes away when the batteries are not charging - I suspect the extra shunt action between the positive and negative battery terminals confuses the poor PakTrakr.

All in all, a very successful week of work. I estimate that each regulator took about 20 minutes (there were 9 solder joints on each one), so this is about 10 or so hours of work all told.

Wednesday, December 31, 2008

Charger Inlet

I changed my mind - I wanted to get the charger going so that I could keep the battery pack easily filled up. I started with a plastic cover plate, and drilled a hole in it to match a marine outlet that I had purchased earlier:


The cord for the charger comes out in an outlet box in the former gas tank filler opening:


I threaded the cord through the plate, and attached the wires:


Finally, I completed it by attaching the plate to the box:


Here it is, plugged in and charging:


To avoid damage to the batteries, I am only charging to 330V for the pack (this is roughly 12.7V per battery). I will charge the individual batteries to equalize. This will only be necessary until my battery management system shows up (I already have a PakTrakr installed for monitoring purposes).

Saturday, July 12, 2008

Final Battery Layout?

With the motor in its final location, it's time to look at battery placement for real. After cutting the carpet from the cargo area, it became obvious where the limits would be (you can see the spot welds of the frame rails to the floor pan). It also became obvious that my original 3x3 layout will not fit in the area allocated, so it's time for an asymmetrical layout that matches the available space. In addition, looking more closely under the rear seat, it is clear that only two batteries will fit here. Four batteries are not possible without cutting the frame rail, which is an incredibly bad idea.

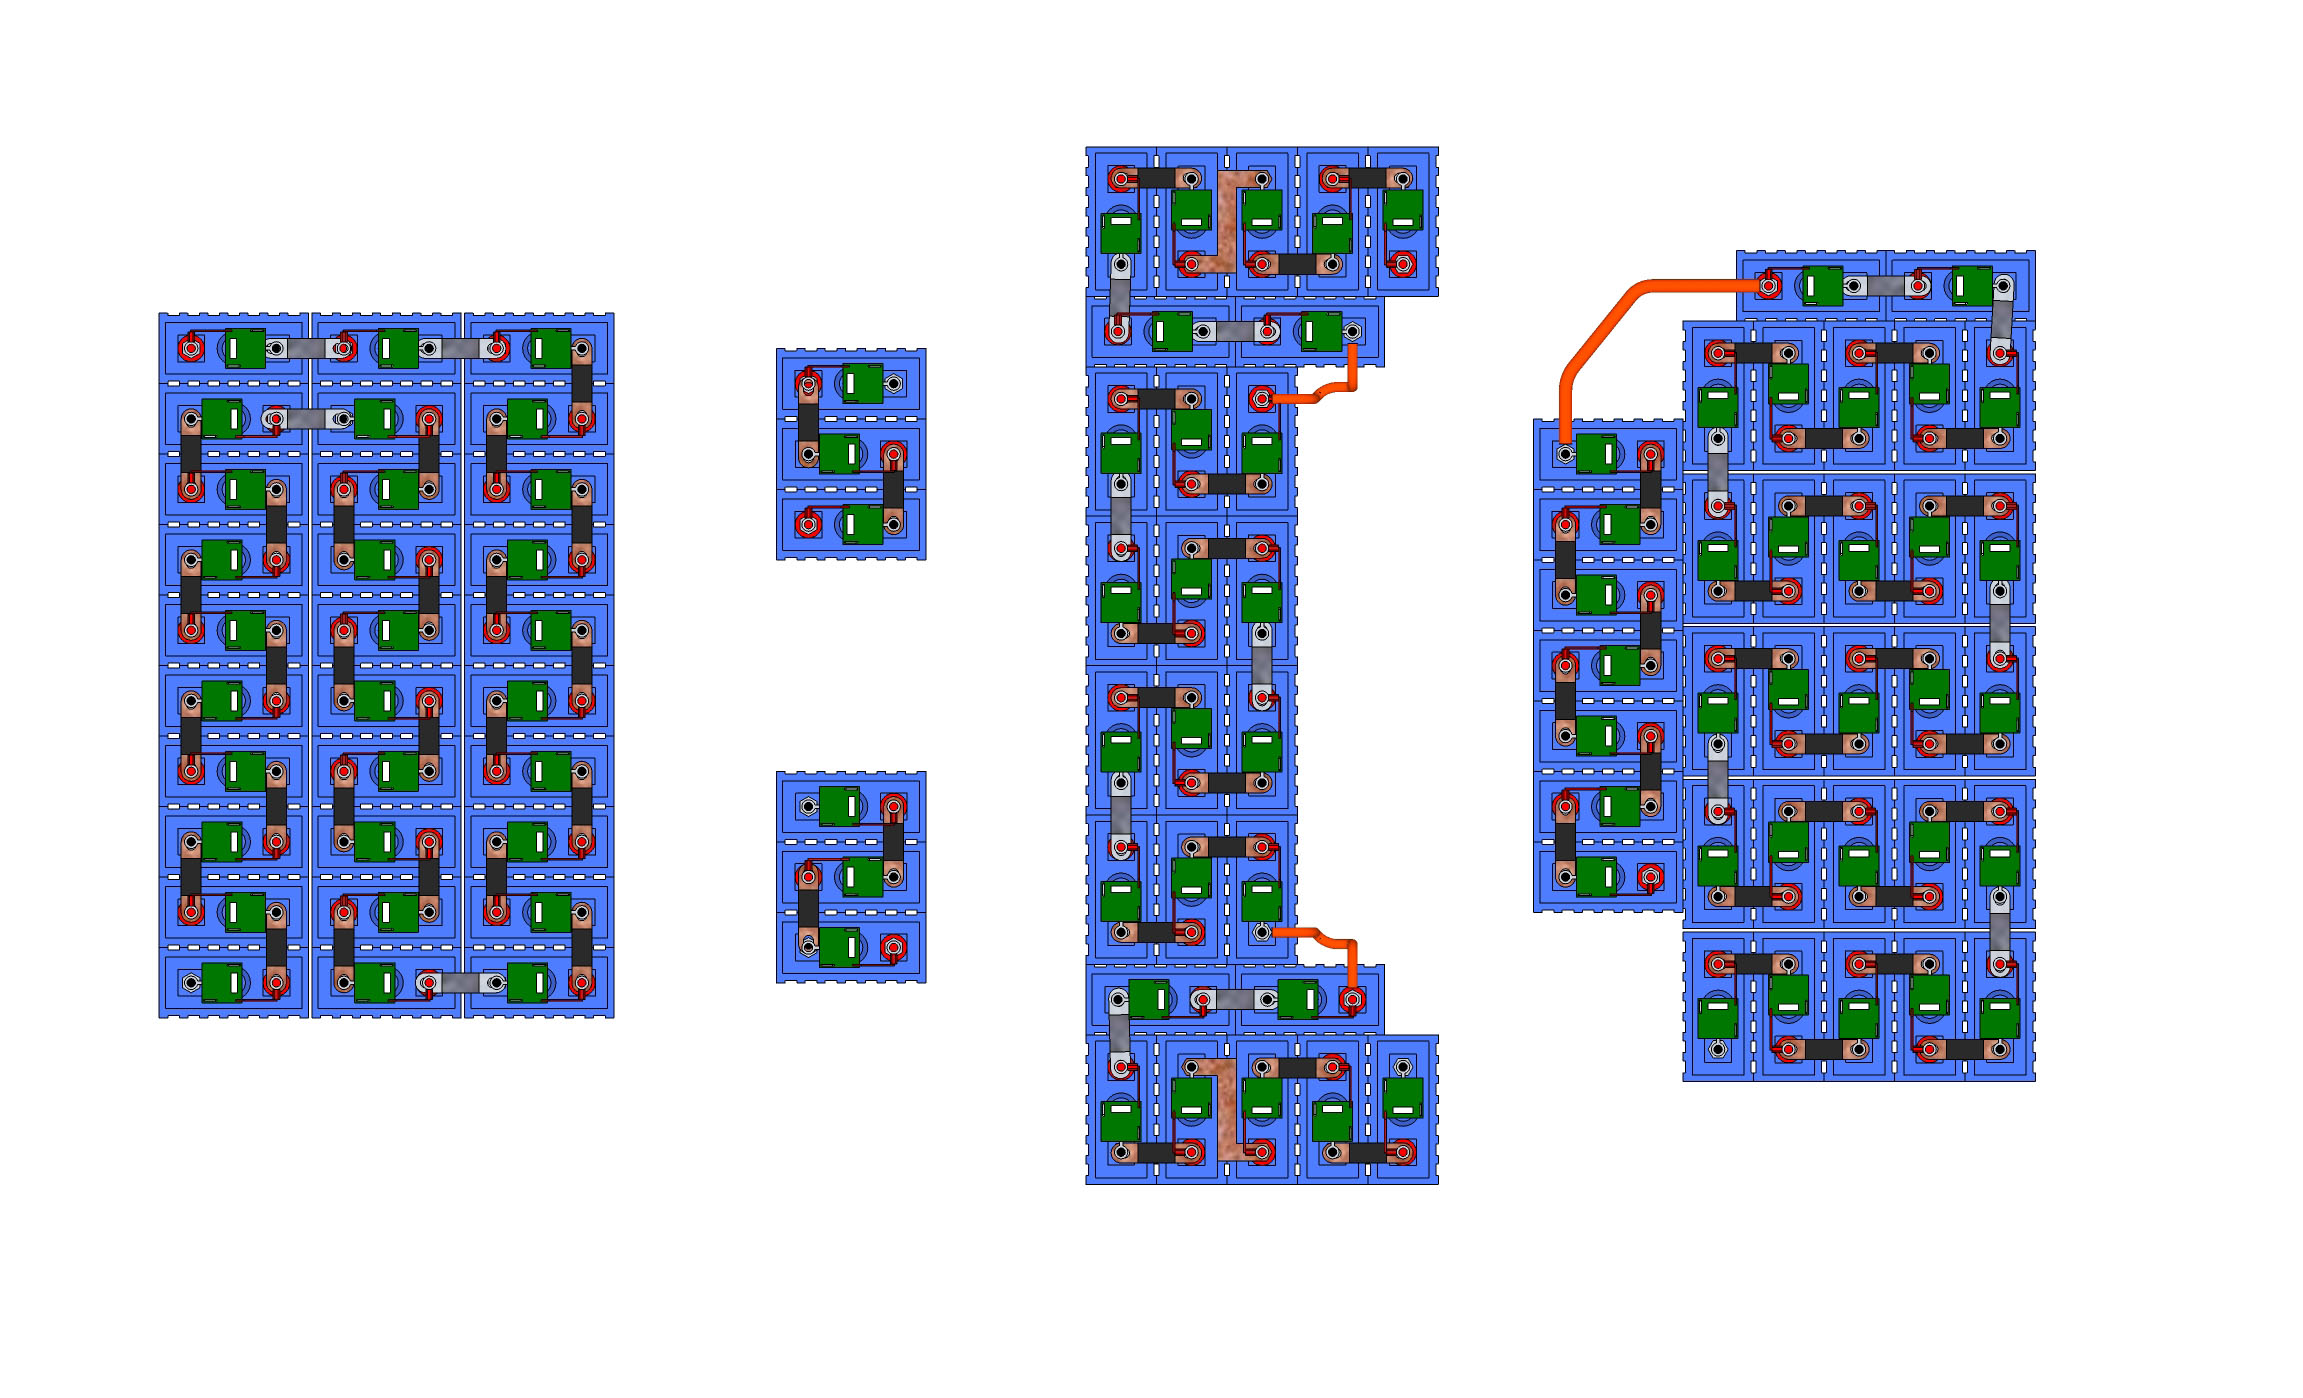
So, here is a test fit with actual batteries in the rear. The five batteries near the seat back are in their final position - a box will be built to contain them. The three batteries behind those five will join six others sunk into the floor of the cargo area. A box will be built to contain them as well:


In the front, the motor mounting provides a challenge for laying the batteries out as I had originally planned. Instead, I'll go with three groups of three, with the last battery replacing the large starter battery (a smaller aux battery will go on the driver's side, along with the DC-DC converter). Here is a test fit of the three groups of three - the box in the lower right corner is the same volume as three of my batteries.

Due to space constraints, there will not be a box completely enclosing the front batteries. Instead, there will just be racks supporting it, along with a plastic top / hold-down for each group of three (and the solo battery) to prevent the batteries from flying around and to prevent fingers from accidentally brushing up against 312-volt power.

The good news is, even with two-by-fours and 3/4 inch plywood in the way, the trunk still closes with the batteries in the above position, so I think that this design will work:


So, here is the new component layout. The controller still goes in the front, above a group of three batteries. Two more groups of three are in the front, along with a solo replacing the large starting battery. Two batteries are under the rear seat, and fourteen are in the rear cargo area (9 of which will be sunk below the floor level):


Business travel and vacation will interrupt progress for a couple of weeks; when I return, it will be time to start fabricating racks and boxes!

Monday, March 17, 2008

Designing Front Racks

After fiddling with things some more, deciding to go with AGM batteries, and looking at how Nick at DriveEV lowered his rear battery box, I changed how I'm planning on placing the batteries. The 9 batteries in the rear trunk will be lowered so the top of the box is even with the floor. This gives a much lower center of gravity. There will be 3 additional batteries in the back, lying on their side (because they will be AGM, this won't be a problem). This also keeps the COG as low as possible. I can't sink these three into the floor because there is a structural cross-member right below that in the rear trunk.

The front batteries are completely reconfigured. Since I decided to go AGM, I don't have to worry about accessibility for watering the batteries, which allows a more 3-dimensional design. You can see how 4 of the batteries are on side racks down low, another is way down below the DMOC controller, and 5 more are in a rack above the motor. This gets 10 batteries into the front trunk, which will balance much better with the 12 in the rear (versus 8::14 as it was split in the previous design).

With the placement of the batteries pretty much as I want it, I also designed how the front racks will work. The green components below are intended to be 2" steel box tubing. The rearmost two crossmembers will support the motor - that's why they are cut & rewelded into that shape - it allows the motor to be slightly lower than the engine bay, so it can line up better with the transmission. The racks for the lower 5 batteries (purple-ish) rest directly on this box tubing. And then the upper battery rack (orange) rests on 4 2" box tubing uprights. And the rack for the controller (pink) sits on top of two more box uprights.


In other news, Electro Auto says they *do* have a pattern for an AC55 motor adaptor for the Jeep Cherokee, so I have ordered one from them. If something does not work out, I can always fall back on my original plan.